Monday, May 24, 2010

"Space Invader" White Chocolates with Walnuts and Brown Sugar

It has been my recent goal to expand my chocolate-making into the realm of actual filled formed chocolates, rather than just chocolate truffles. For weeks I have been jotting ideas for fillings and combinations, scribbling in crayon on my handy pad of paper I keep in the side of my car door at each stoplight. I have been on the lookout for the perfect chocolate-forming vessel, and, alas, we met.

Although I was originally searching for a basic square tray, there was no way I could decline Space Invaders. How often do you come across a Space Invaders ice tray?! It was just too quirky to pass up. Imagine the possibilities of conversation starters!

For my first attempt, I decided to go with a butter, walnut, and brown sugar filling encased within a white chocolate shell. The inner combination was inspired by a popular crepe filling, and I chose the delicate creamy white chocolate as a complement.


1/3 c Brown Sugar (I mix light and dark; dark brown sugar has a higher content of molasses, which provides added flavor)
2 oz (about 1 cup) Walnuts (toasted at 350 for 15 minutes)
1 T each light and dark Corn syrup
2 T softened Butter


12 oz White Chocolate


Add the toasted walnuts to a food processor, reserving a few attractive halves to decorate the chocolates later.

Pulse lightly with the corn syrup...


and butter. I also added a dash of macadamia nut liqueur :) Don't overpulse the mixture- a few large walnut segments are nice in the completed chocolates.


Waiting to fill the Space Invaders!


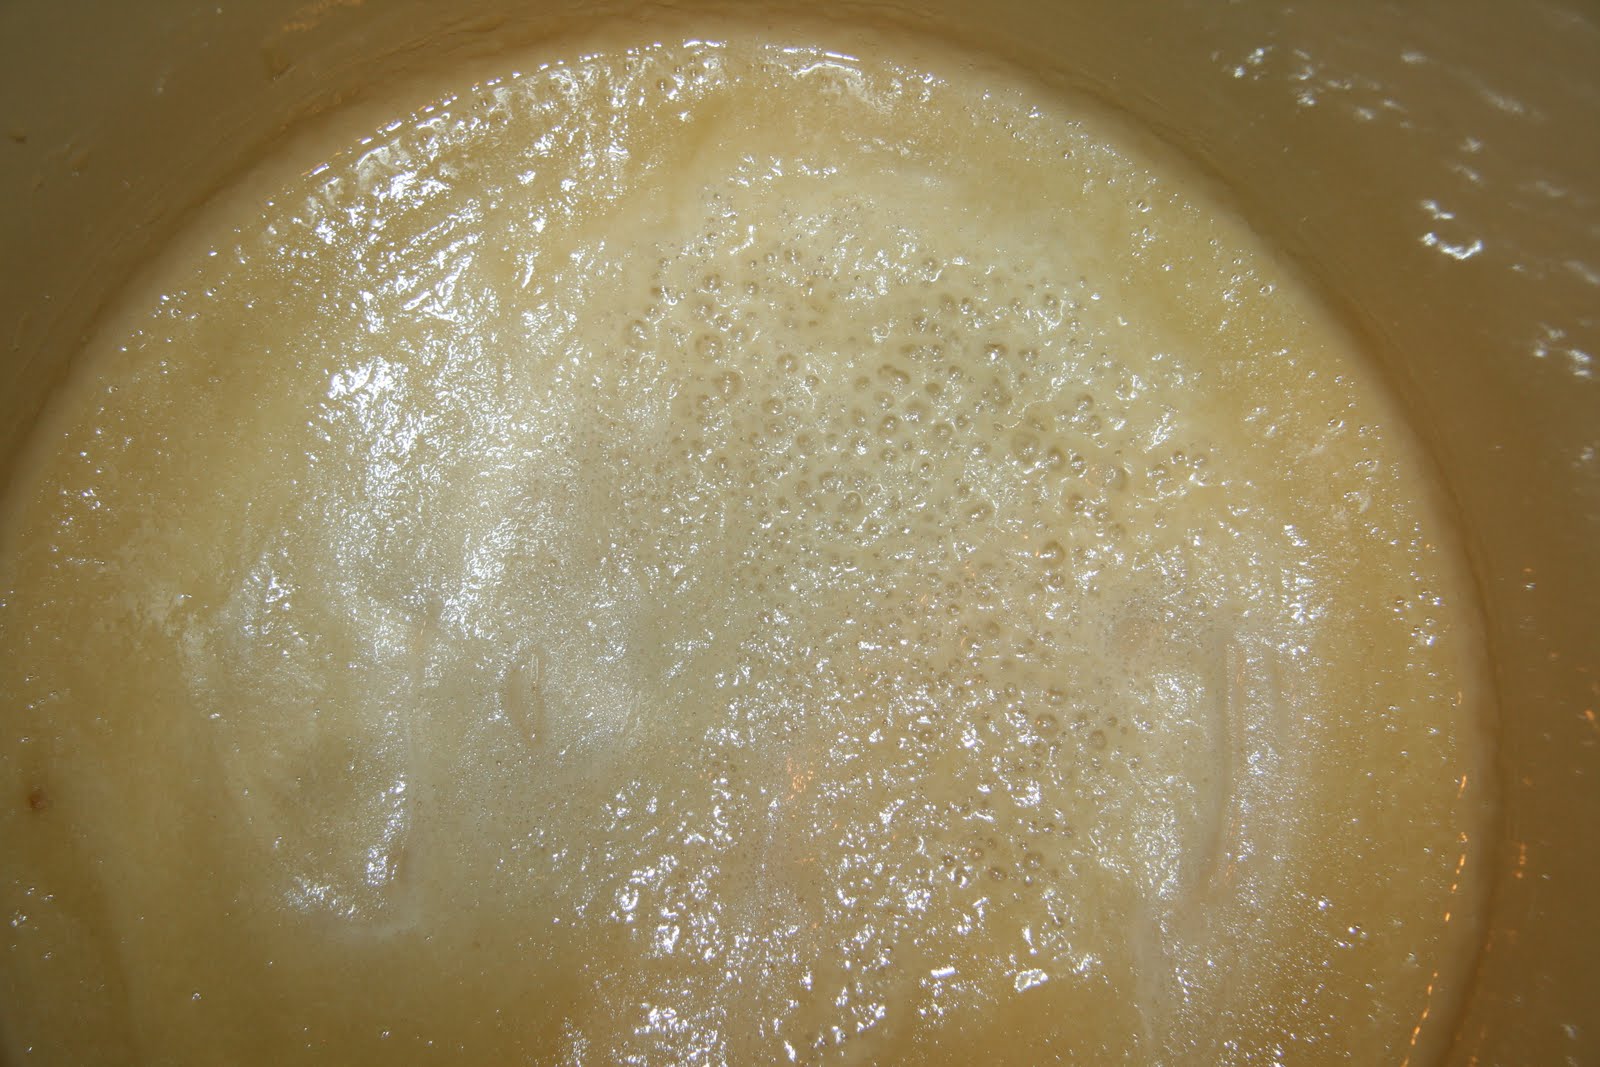
Time to temper the chocolate! The general rule for tempering white chocolate is to gently heat 3/4 over a double-boiler until the chocolate reaches 110 degrees, then add the other 1/4 and stir until the chocolate cools to 83 degrees. This can be tricksy...

All of my tools made me feel I was prepping for surgery.


I used 12 ounces of white chocolate (reserving 3 ounces to add back in later).


Smaller uniform pieces help the chocolate to melt evenly.


After the arduous task of tempering, I excitedly filled my little invaders, tapped out the excess, and allowed the shells to cool.


Once the outer shell has cooled, add the filling.


Then, again, cover with white chocolate, scraping off any excess. As you can imagine, I was feeling pretty darn cool at this point.


When my chocolates had cooled sufficiently, I gently overturned them, hoping to release my delightful creations into the world.

It wasn't so easy.

After about 2 hours worth of warming, cooling, bargaining, I decided that I would be satisfied to have just ONE successful Space Invader chocolate. I would photograph the heck out of it, then I would hide the crumpled bodies of my victims in the bottom of the garbage and claim that my chocolates were so delicious that I couldn’t help but eat them all. All I needed was one photo to prove my success…


just one...


please?


What?! My Space Invaders were defeated by these perfectly (ordinary) round morsels?!

After many fits, tantrums, and angry calls to my mother seeking comfort from the evil which falsely calls itself "white chocolate", I broke down and started over. My brother will be receiving an ice-cube tray surprise; hopefully he will end up cooler for it, using the jokes and opening statements I had originally planned for myself.


Maybe simple and round suits me :)

Tuesday, May 18, 2010

Lamb Chops with Port Cherries


I love lamb. Growing up, I only ever ate it in restaurants or on the odd occasion my mother let me use her kitchen- she refused to cook (or condone the cooking/consumption of) "Bambi".


This delicious recipe is very cheap if you have the basic ingredients on hand, and takes only 15 minutes which makes it perfect for a weeknight meal (or a student craving some gourmet action). It is all cooked in one pan, which makes cleanup a breeze.

Lamb chops
Olive oil
Black pepper
Sea salt
Butter
Port
Dried Cherries
Shallots
Flour

(I ate mine with spinach, which I sauteed in the same pan while my lamb cooked)


Season the lamb with coarse sea salt and freshly ground black pepper. In a skillet with olive oil, cook the meat on medium-high heat. I prefer my meat medium-rare, which takes about 5 minutes. Go ahead and add your vegetables to the pan while the lamb finishes.


As soon as the lamb is cooked, remove it (and any vegetable) from the pan and allow the meat to rest. To the same skillet, add a couple tablespoons of butter, dried cherries, shallots, a pinch of salt and several grinds of black pepper.


Once the butter melts, dust the cherries with flour (I used roughly 1/2 tsp, but I was making a single serving) and stir to incorporate. Once the cherries are coated, pour in enough port to just cover the cherries and simmer until the cherries soften, about 4 minutes.


Serve and enjoy! I prefer to prepare each lamb-cherry bite separately to achieve the perfect ratio of cherry and port to lamb, so I serve the two side-by-side. If you are feeling adventurous, you can add the seared lamb to the simmering cherries in the last minutes of cooking to further incorporate the sauce.

Thursday, May 13, 2010

Chicken and Dumplings


This is one of my favorite comforting meals from childhood. My mother makes hers differently than the traditional puffy biscuit-like dumplings. Instead, her dumplings (which she buys frozen) are essentially glorified pasta slices. When I would ask why she didn't make her dumplings "the right way", she would respond by describing traditional dumplings as "chunks of dough wads."

Maybe she knows, maybe she doesn't- describing any food product as a "chunk" or a "wad" will make it thoroughly and forever unappetizing. To this day, I have never tasted chunky dumpling wads.

I make my dumplings with all-purpose flour, eggs, water, sea salt, black pepper, and Herbes de Provence. I don't use an exact recipe- I work by the feel and taste of the dough, and the amounts change based on how much you want to make and the humidity of the day. I snapped only a couple of dumpling-making photographs (my body was enveloped in flour).

This is a basic recipe:
2 cups all-purpose flour
Sea salt to taste
A few grinds of black pepper
Herbes de Provence
2 eggs
Water

In a large bowl, season the flour to taste. You must be able to taste the salt- I have made this mistake many times. If the dumplings are not salty enough before you cook them, you will never be able to appropriately salt the dish. Form a well in the flour, crack the eggs into it, and slowly incorporate. Once the eggs and flour are thoroughly mixed, sprinkle the dough with water and continue to mix, adding more water as needed until everything comes together. The dough should be easy to work with, but not too sticky. Knead the dough with a series of folds, adding more flour as needed. I kneaded mine for about 45 minutes- an excellent hand workout!

The purpose for working the dough so long is to pack in as much flour as possible and to form gluten- if these are achieved, then the dumplings will be more noodle-like and less doughwad-like. You can tell you are getting close when the dough is no longer sticky and when it will thoroughly stretch without breaking.


The more flour, the better. Any excess flour on the dumplings will help to thicken the overall product.


Form the finished dough into a disc, seal into plastic wrap, and refrigerate for several hours.


Roux time! This dish requires a white roux, so essentially the flour/fat mixture will be heated until just blended but not darkened. I use butter for this roux; as there is very little heating involved before adding liquids, there is no risk of burning the butter solids. You could use oil, but I feel that butter imparts a better flavor in this dish.


Starting with a single ladle, whisk homemade chicken stock into the roux. Once all of the stock is incorporated, taste for salt and pepper and alter as needed. You can further flavor the dish with white wine and/or cognac.


Slice the chilled dumpling dough into quarters and roll them out evenly and thinly on a heavily floured surface.

Slice and set aside, making sure that each dumpling is dusted with flour.

One-by-one, drop the dumplings into the gently boiling stock (this prevents sticking).


Once the dumplings are cooked, add the baked chicken.


Just before serving, I like to add fresh peas and chopped fresh parsley.

Serve and enjoy!

Tuesday, May 11, 2010

Shrimp and Sausage Gumbo


1/3 cup vegetable oil
1/3 cup flour
1 medium onion
2 celery ribs
1 green bell pepper
4 cloves garlic
Chicken stock (preferably homemade)
White wine
Thyme and parsley (I use fresh)
2 bay leaves
1 can Rotel
Salt
Black pepper
Cayenne
2 tomatoes
Okra (optional)
Sausage
Shrimp
Gumbo filé
Chopped green onions


Begin by making a roux with equal parts flour and oil (I use 1/3 cup). Roux is the basic thickener of many stews and sauces, and the outcome of the roux depends on how long it is cooked. For instance, in a basic béchamel sauce you may use flour and butter and cook only until the roux is smooth. For gumbo, we want to achieve a deep chocolatey-brown. This requires a lot of attention, as it is very easy to burn the flour.


While my roux browns, I like to saute my trinity (onion, celery, bell pepper) with a pinch of salt until the onion becomes transparent and the vegetables begin to caramelize.


When the trinity is almost finished, add the garlic.


Once the roux becomes deep brown, you must act quickly! There is often carry-over cooking, so you must be precise in order to keep from burning the flour. I often lower the heat as the roux begins to darken. To be safe, I also like to keep my chicken stock nearby in case I need to immediately stop the cooking process.


Add the trinity to the darkened roux.


I like to add my hot chicken stock slowly at first to avoid any lumps. Once the chicken stock is added, bring the mixture to a boil.


Add the bay leaves, wine, and herbs.


For this gumbo, I used smokey dried Chorizo. However, I have also used different spicy Cajun sausages as well, all with great success. If you use something raw, I recommend grilling it first before adding it to the gumbo.


In with the Rotel!


At this point, you will want to taste the gumbo for flavor. If your sausage is salty, you want to be sure that all of the salts have had a chance to cook out into the stew before adding more salt.


Add the tomatoes and okra (if using) to the pot. The okra acts as a thickener, as does the roux- if you choose to leave out the okra, you might want to include more roux and add gumbo filé powder in the last several minutes of cooking.


Give the gumbo time to boil down (I usually wait a couple of hours to allow the flavors to meld). About 10 minutes before you plan on eating, add the shrimp- they will only take a couple of minutes to cook.


I serve my gumbo on rice and garnish with green onions and homemade gumbo filé.


Enjoy!